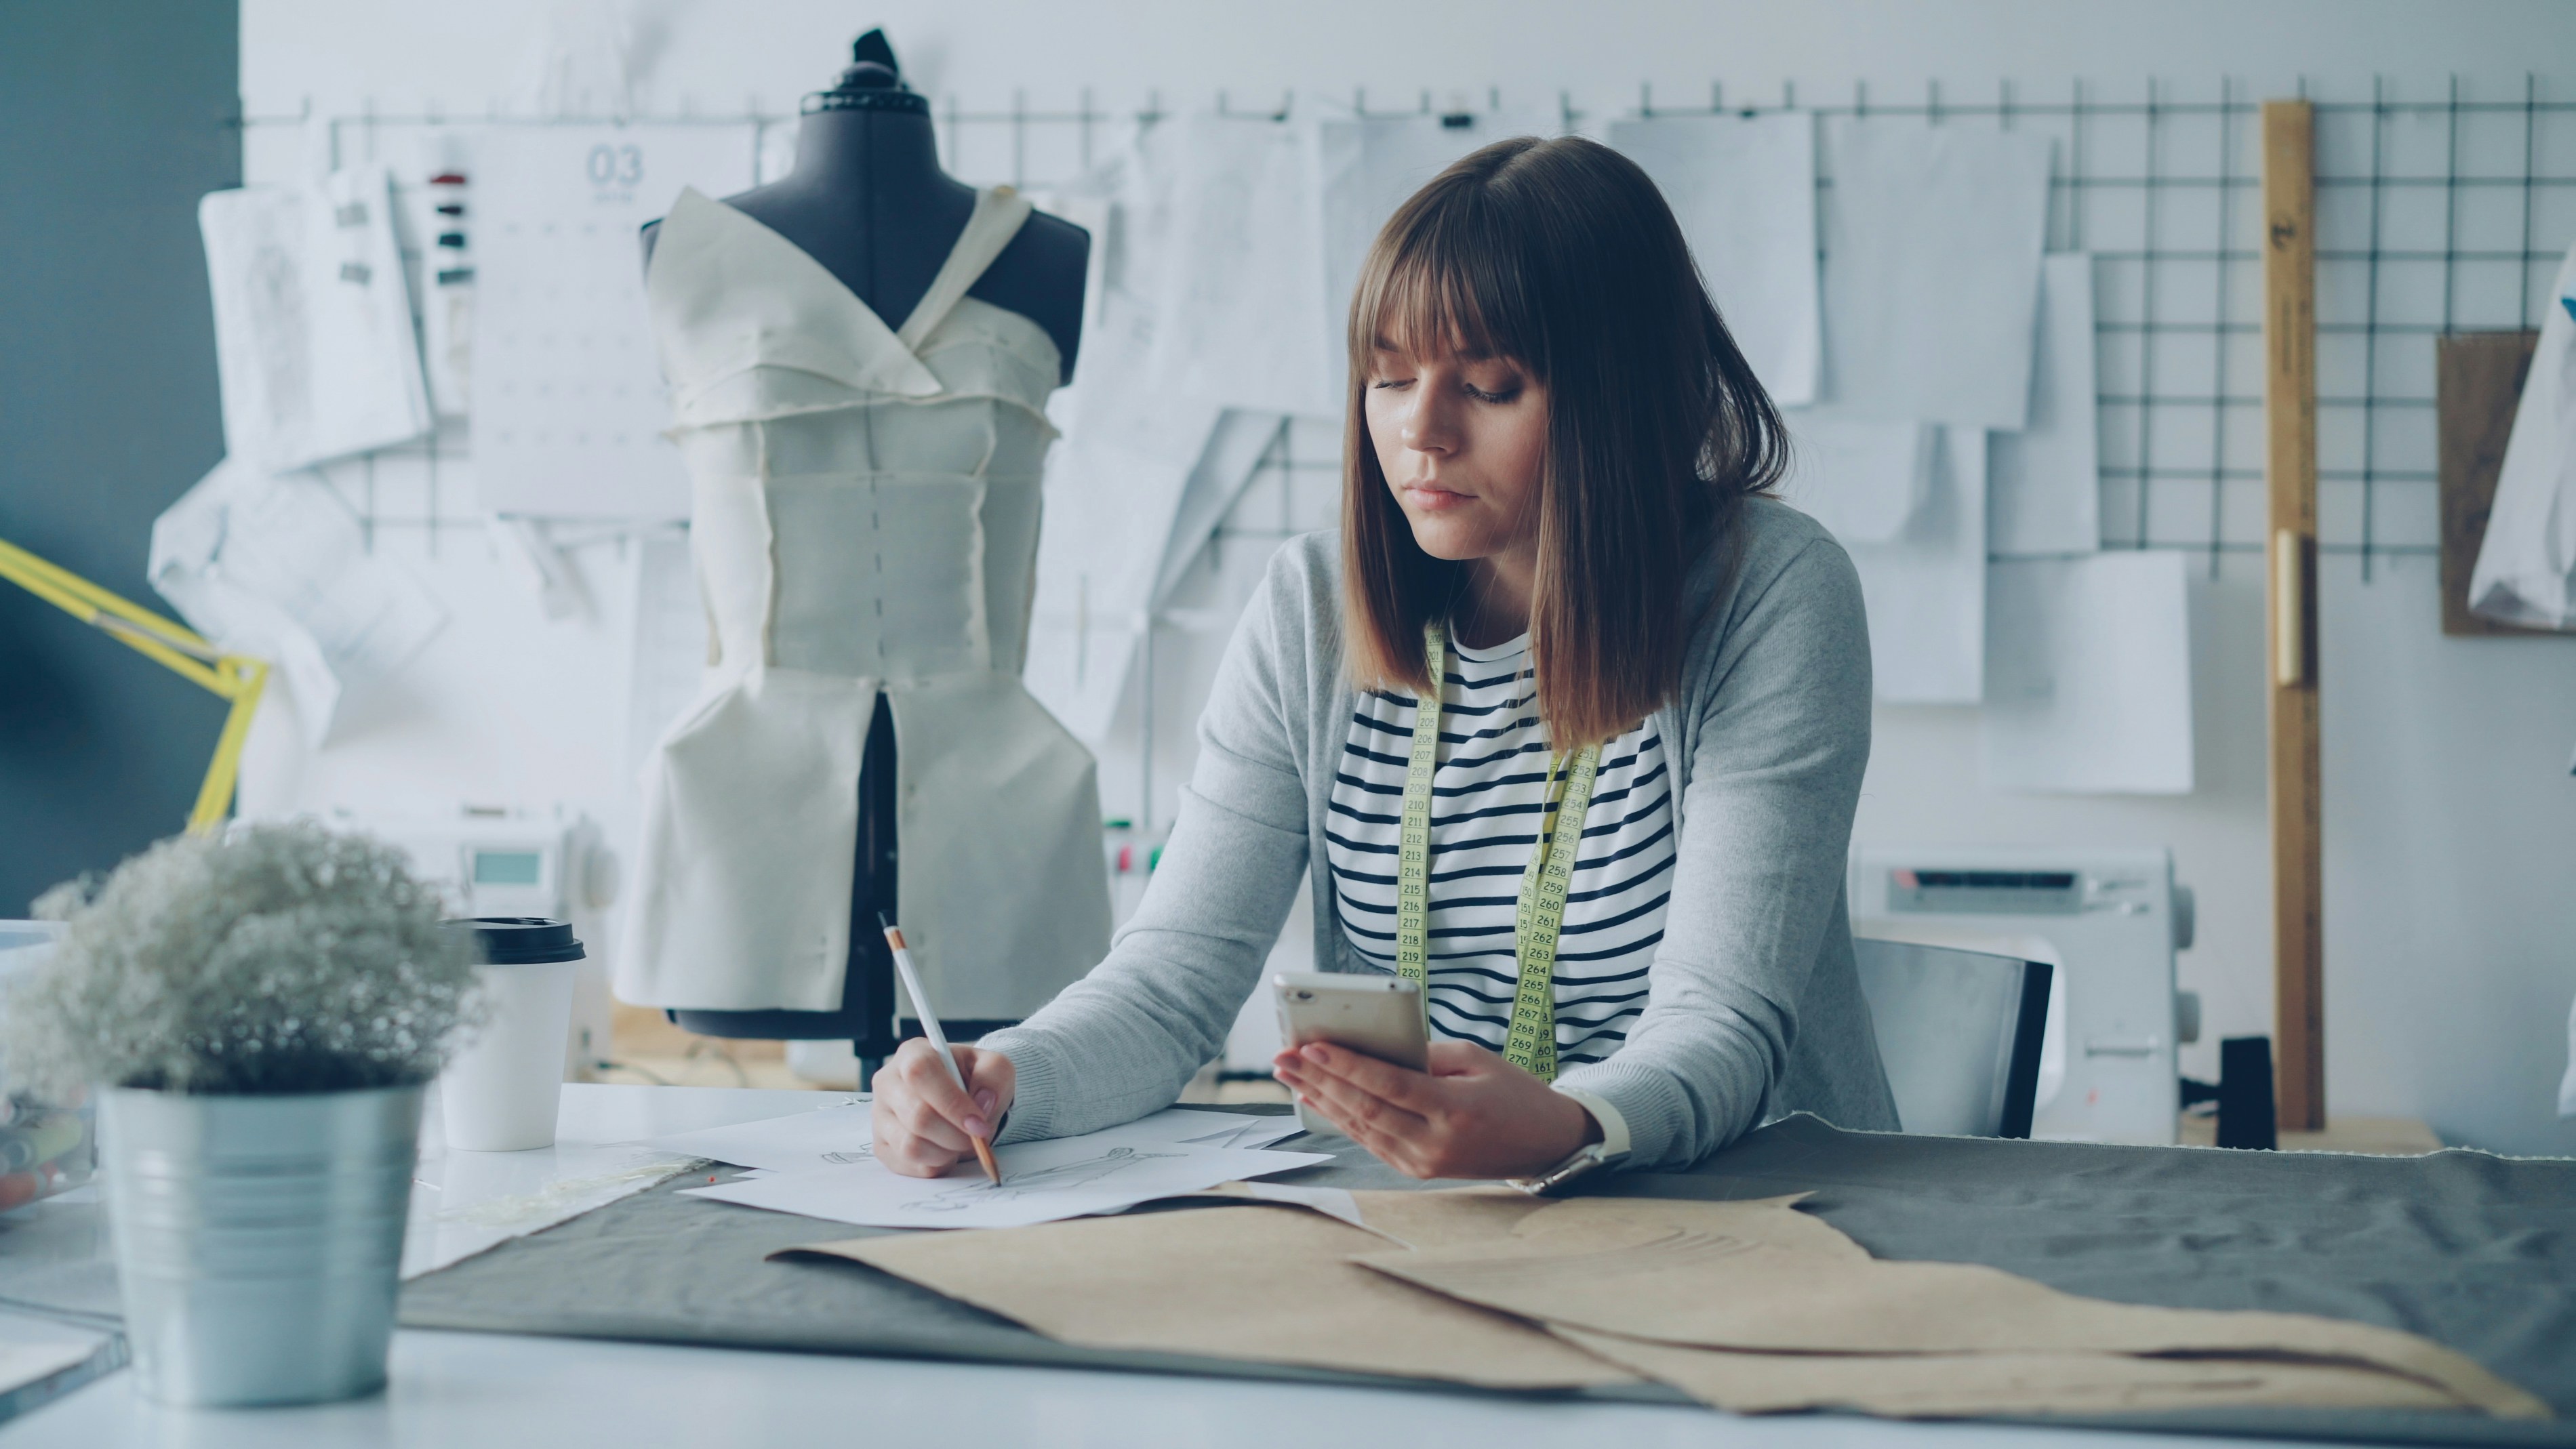
What does it actually take to turn your artwork into a silk scarf?
Printing your artwork on a silk scarf is one of the most rewarding ways an artist can extend their work into a product, and one of the easiest to get wrong if you go in without preparation. A silk scarf is not just a print of your image. It is a finished textile product, designed for the way silk hangs on the body, the way light catches the weave, and the way the printed image translates from screen to fabric.
Three things determine whether the finished scarf does justice to your artwork: the artwork itself, the silk you choose, and the manufacturing partner who produces it. Get those three right and you will end up with a product that feels worthy of the original piece. Skip any of them and the result will look like a print on cloth rather than a beautifully realised scarf.
I have spent the last twenty years producing silk scarves for the V&A Museum, Fenwick, Iconic Images, and dozens of independent artists. The process below is the one I use with every artist I work with, regardless of whether they are producing fifty units for a gallery shop or several hundred for a wholesale order.
Step 1: Assess whether your artwork translates to silk
Not every artwork makes a great scarf. Before you commit to production, it is worth honestly assessing whether the piece you have in mind will actually work in this format.
The questions to ask:
Does the composition work as a square or a rectangle? Most scarves are produced as 70x70cm or 90x90cm squares, or as long stoles around 200x70cm. A piece originally composed for a portrait canvas may need recropping or repositioning for a scarf format, and that recropping should be done thoughtfully rather than as a quick zoom in or out.
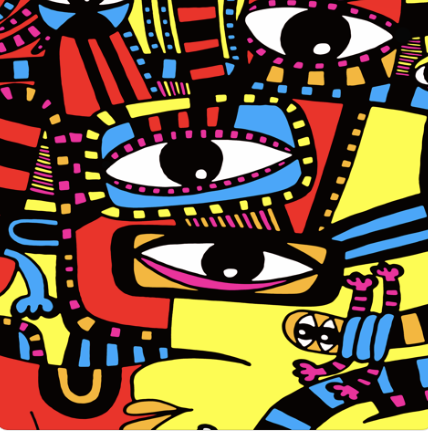
Does the artwork have a clear focal point that survives at scarf scale? A 90x90cm scarf is a small canvas compared to a wall painting. Fine detail can disappear, and busy compositions can become muddy. The strongest scarves usually have a defined central image with breathing space around it, or a beautifully resolved edge-to-edge pattern.
Are the colours within reach of fabric printing? Bright, saturated colours generally translate well. Subtle gradations, very pale tones, and certain shades of blue and green can shift on silk. A good manufacturer will tell you which colours are likely to be accurate and which may need adjustment at the proofing stage.
Will the edges be cropped, faded, or finished with a border? Scarves usually have a hand-rolled or machine-rolled edge, which means a few millimetres around the perimeter will be folded under. Plan for this in your composition. A signature or important detail at the very edge of the artwork will disappear into the hem.
The strongest scarves are not just the most beautiful artworks. They are the artworks that have been thoughtfully translated for the format, the fabric, and the way the product will be worn.
Step 2: Choose the right silk weight and finish
Silk is not one fabric. It comes in many types, weights, and finishes, and the choice you make here will define the feel, drape, and price point of the finished scarf.
The most common silk types used for printed scarves:
| Silk Type | Weight (Mommes) | Best For | Hand-Feel |
|---|---|---|---|
| Habotai (China silk) | 6mm to 12mm | Lightweight, soft, lower price points | Smooth, fluid, airy |
| Twill silk | 14mm to 18mm | Heritage scarves, museum-quality printing | Substantial, soft, defined drape |
| Satin silk | 12mm to 16mm | Luxury accent pieces, glossy finish | Smooth, lustrous, fluid |
| Chiffon silk | 6mm to 8mm | Sheer, evening-wear scarves | Sheer, floaty, delicate |
| Crepe de chine | 14mm to 16mm | Soft drape with matte finish | Soft, slightly textured, refined |
Mommes (mm) is the unit of weight used for silk. The higher the number, the heavier and more substantial the fabric. For a heritage-quality printed scarf, twill silk in 14 to 16 mommes is the long-standing standard, used widely by luxury houses and museums alike. The V&A scarves I produced used this specification, and there is a reason it is the benchmark.
For a softer, more affordable option, habotai silk in 8 to 12 mommes works well, particularly for artist merchandise sold at gallery shops where the price point needs to be accessible.
The other decision is the hem finish. A hand-rolled hem is the gold standard for premium silk scarves. It is rolled by hand, stitched almost invisibly, and gives the scarf a soft, finished edge that machine hems cannot quite match. Machine-rolled hems are faster and less expensive, and for accessibly priced scarves they are perfectly acceptable. The decision should match the price point and brand position of the finished product.
Step 3: Choose your printing method
There are two main printing methods used for silk scarves, and the right one depends on your artwork, your colour palette, and your budget.
Digital print
Digital printing prints directly onto silk using a specialised inkjet printer with reactive dyes. The dye is then steamed and washed to fix the colour permanently into the fibres.
Best for: Photographic artwork, paintings with subtle gradations, work with many colours, smaller production runs, and artwork where colour accuracy is critical. Digital allows essentially unlimited colours and tonal range.
Considerations: Digital printed silk has a slightly softer hand-feel than screen-printed silk because the dye sits within the fibre rather than on top of it. For most artists, this is an advantage. Print quality depends on the resolution of your file and the calibration of the printer.
Screen print
Screen printing uses a separate stencil for each colour, with dye pushed through the screen onto the silk. It is the traditional method that has produced silk scarves for over a century.
Best for: Artwork with a limited, defined colour palette (typically up to eight or twelve colours), graphic and bold imagery, and brands that value the traditional craft heritage. Screen-printed scarves often have a slightly more pronounced colour intensity than digital.
Considerations: Screen printing has a higher setup cost because each colour requires its own screen. This makes it less economical for short runs, but very economical for larger volumes. The hand-feel can be slightly more textured because the dye is layered on top of the fibre.
For most artists producing limited runs of original artwork, digital print is usually the right starting point. It allows full colour reproduction, lower minimum quantities, and faster turnaround.
Step 4: Prepare a print-ready artwork file
How you prepare your file is one of the most important steps in the whole process. A poorly prepared file will produce a poor scarf no matter how skilled the printer.
The technical specifications you need to meet:
File format. TIFF is the preferred format for fabric printing. JPEG can work for some printers but introduces compression that can affect fine detail. Always supply the highest-quality version of your file you have.
Resolution. 300 DPI minimum at the final scarf size. This means a 90x90cm scarf needs a file that is roughly 10,630 by 10,630 pixels. If your original is a painting or drawing, you may need to commission a high-quality scan or photograph to reach this resolution. A phone snap will not work.
Colour profile. For digital printing, supply your file in CMYK or in the colour profile your printer specifies. Provide Pantone references for any colours that are critical to your brand or the original artwork. The printer will use these to colour-match during proofing.
Dimensions. Build the file to the exact finished dimensions of the scarf, plus a small bleed allowance (usually 1 to 2cm extra on each side) to allow for the hem.
Composition file. If your artwork includes a border, signature, or specific positioning of elements, lay it out in the file exactly as you want it on the finished scarf. The printer reproduces what you supply.
A common mistake is to send the printer the original photograph or painting and assume they will adapt it. They will not, and they should not. Composition is the artist’s responsibility.
Step 5: Find a silk scarf manufacturer who works with artists
The right manufacturer is the difference between a finished product you are proud of and one that feels like a missed opportunity. The silk scarf manufacturers who work well with artists tend to share a few characteristics: they understand the artwork-to-product translation, they work with low minimum order quantities, and they have the technical capability for your chosen print method.
The main regions for silk scarf production:
United Kingdom. A small but skilled base of silk printers, particularly in the digital print space. UK production offers shorter lead times, easier communication, and the marketing story of British production. MOQs typically start around 30 to 100 units per design.
Italy. The home of luxury silk scarf production, with mills that have been operating for generations. Excellent for screen printing in particular. Higher MOQs and longer lead times, but unmatched heritage quality at the right price point.
India. Strong in both digital and screen printing, with very competitive pricing and skilled hand-finishing. MOQs are accessible for independent artists, often starting around 50 to 100 units per design. Lead times are longer than UK production.
China. Large-scale silk production with the lowest prices and the highest minimums. More suitable for established brands ordering in volume than for independent artists.
For most artists I work with, the right starting point is a UK or Indian specialist who is comfortable working with smaller runs and understands the artwork-to-textile translation.
The right manufacturing partner for an artist is not always the cheapest one. It is the one who treats your artwork with the same care you do.
Step 6: Brief the manufacturer and request samples
How you brief the manufacturer sets the tone for the whole production. A clear brief saves time, prevents misunderstandings, and signals that you are a serious and prepared client.
A good silk scarf brief should include:
- The artwork file (high-resolution, print-ready)
- Silk specification: type, weight in mommes, and finish (e.g., 14mm twill silk with hand-rolled hem)
- Finished scarf dimensions
- Print method (digital or screen)
- Quantity required and breakdown by colourway if applicable
- Pantone references for critical brand colours
- Packaging requirements: tissue paper, gift box, care label, hang tag
- Timeline: required sample date and required bulk delivery date
- Your budget range, if you are open about it
Always, always request a sample before approving full production. This is the single most important rule of textile production. The sample is your opportunity to check colour accuracy, hand-feel, hem quality, finished size, and overall execution before you commit money to a full run. Skipping the sample stage to save time or money is a false economy that I have seen turn into expensive lessons more times than I can count.
For complex artwork or critical colour matching, you may want to request a strike-off first, which is a small print of part of the artwork to confirm colour and registration before producing a full sample. The cost of a strike-off is small and the protection it offers is significant.
Step 7: Review your sample and approve production
When the sample arrives, do not approve it on first impression. Take your time, review it in good daylight, and check it carefully against your original artwork.
What to look for:
Colour accuracy. Compare against the original. Some shift is normal, but the sample should clearly read as the same artwork. If a critical brand colour is wrong, flag it.
Print clarity. Fine details should be sharp. Lines should not bleed. Gradients should be smooth.
Hand-feel. The fabric should feel as expected for the silk weight you specified. If the silk feels papery, thin, or overly stiff, query whether the correct weight was used.
Hem quality. A hand-rolled hem should be even, neat, and almost invisible from the front. A machine hem should be straight, secure, and consistent.
Finished size. Measure it. Silk shrinks slightly during the dyeing and finishing process, and reputable manufacturers account for this, but it is always worth checking.
Wash test (optional). If the scarf is going to be sold to consumers who may wash it, a hand-wash test with cold water can reveal whether the dye is properly fixed.
If anything is wrong, document it clearly with photographs and request a revised sample before approving production. A good manufacturer will welcome this feedback. Production should only begin when you are genuinely happy with the sample.
Step 8: Plan packaging and finishing
The packaging is part of the product. A beautifully printed silk scarf in a poly bag with a sticker label loses much of its perceived value. Spending a small amount on packaging usually pays for itself many times over in the price you can charge and the way the product is received.
For artist merchandise and luxury retail, consider:
- Tissue paper (often branded or printed) to wrap the scarf
- A gift box, either custom-printed or a high-quality plain box with a printed sticker or wraparound band
- A care label sewn or attached, with washing instructions and country of origin
- A hang tag with the artist’s name, the title of the artwork, and a short story or signature
- A care card or thank you note as an insert
The hang tag and care card are particularly powerful for artist merchandise because they connect the buyer back to the artist and the original work. Many of the artists I have worked with credit these small inserts with significantly increasing repeat purchases and gallery follow-on sales.
Common mistakes artists make (and how to avoid them)
A few patterns repeat across artists who try this for the first time without experienced support.
Sending low-resolution files. A phone photo or a small JPEG cannot produce a museum-quality scarf. Invest in proper artwork preparation.
Skipping the sample stage. I cannot say this strongly enough. The sample is non-negotiable.
Choosing the wrong silk weight. A scarf produced on cheap, lightweight silk can undermine the perceived value of your artwork. Match the silk to the price point and the buyer.
Underestimating MOQs. A factory’s minimum order quantity is set by their production economics. Going lower than the MOQ usually means a higher per-unit cost. Plan around the MOQ rather than fighting it.
Briefing without specifications. “Make me a silk scarf with this artwork” is not a brief. It is the start of a guessing game. Specify everything.
A note on pricing your finished silk scarf
Pricing artist merchandise is its own subject. As a general rule, the cost of producing a silk scarf at low volumes (50 to 100 units) ranges from £25 to £60 per unit depending on the silk weight, print method, complexity, and packaging. Hand-rolled hems and premium twill silk sit at the higher end. Machine-hemmed habotai sits at the lower end.
Selling prices typically range from £85 for an accessibly priced artist scarf to £250+ for a premium twill silk scarf with full luxury packaging. The art market and gallery shops can support prices at the higher end if the artwork and execution genuinely justify it.
Where to start
If you are an artist with original work that you are ready to translate into a silk scarf, the next step is to honestly assess your artwork against the criteria in Step 1, then prepare a brief covering the specification points in Step 6. Once you have those two pieces in place, finding a manufacturer becomes a far more productive conversation.
For artists who want supported guidance through the whole process, from artwork assessment to finished delivered product, the design and sampling service is built around exactly this. And the Art to Merchandise Course takes you through the same process in self-paced detail.
If you have a question about your specific artwork, get in touch . I have answered hundreds of these conversations and I am always happy to help an artist take the next step into product.